
You've probably dealt with this before. A form looks complete, a signer clicks submit, and then someone notices the contract amount is blank, the start date never got entered, or the consent checkbox was skipped. Nothing crashed immediately, but the workflow is now unreliable. Someone has to chase the missing detail, resend the document, or explain why the record can't move forward.
That's why required field validation matters more than is generally perceived. It isn't cosmetic. It's the first gate that decides whether your system accepts a usable record or a broken one. If you build forms for contracts, onboarding packets, approval flows, or anything tied to signatures, money, or compliance, this check belongs at the center of your stack, not tacked on at the end.
Table of Contents
Why Required Field Validation Is Your First Line of Defense
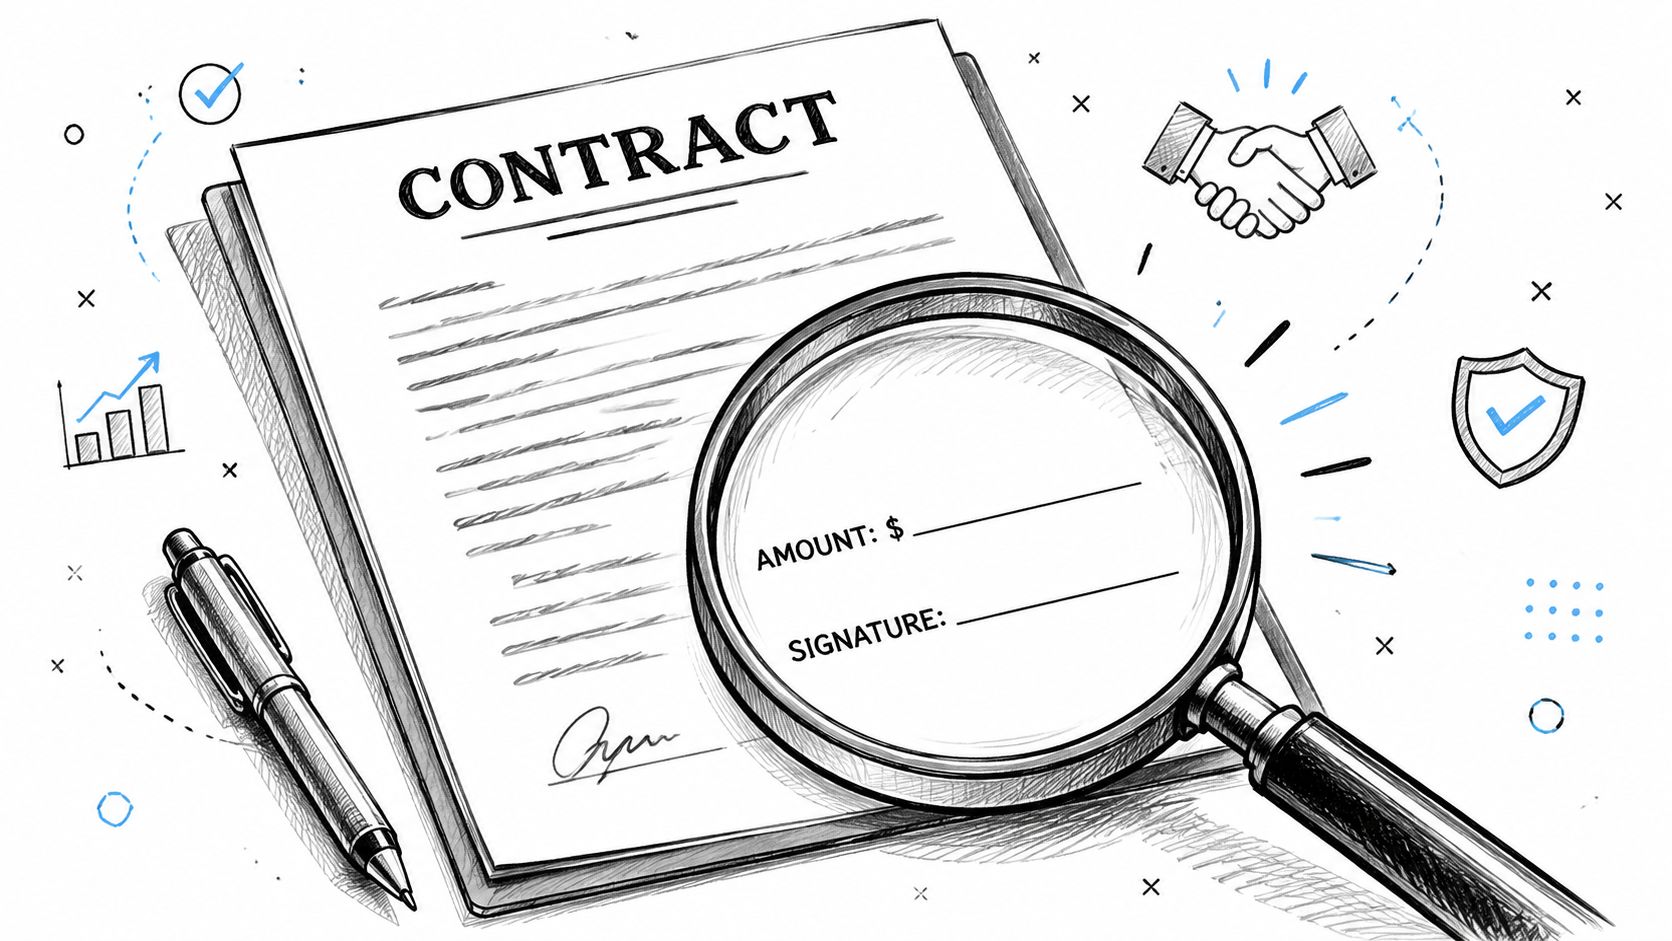
A missing field looks small until it hits a real workflow. A sales agreement without a total amount can't be approved confidently. A hiring packet without a start date stalls payroll and onboarding. A signature request without a required acknowledgment field can leave people arguing later about what was accepted.
What breaks when one field is empty
Most bugs caused by incomplete input don't show up where the data was entered. They show up later. The API receives a payload with an empty value. The database stores a partial record. Another service assumes the field exists and fails in a less obvious way.
That's why presence validation sits so close to the front of good system design. According to Usercentrics guidance on data-quality controls, required field validation is one of the earliest and most fundamental data-quality controls in digital systems because it prevents incomplete records from entering a workflow in the first place. That's the right mental model. You're not just decorating forms. You're stopping bad records at the door.
Practical rule: If a field is necessary for the next step, treat it as required before the record ever leaves the current step.
For e-signature flows, this matters even more. The cost of a missed field isn't just annoyance. It can mean a document has to be corrected, resent, and signed again. If you want a good picture of how those workflows normally move, this guide on how to eSign a document from upload to completion is a useful reference point.
Why presence checks belong at the start
A lot of junior developers think of required checks as the simplest validation, so they give them the least attention. In practice, simple doesn't mean trivial. A required field often decides whether later validation even makes sense.
Consider this order:
| Validation layer | Purpose |
|---|---|
| Required check | Confirms the field exists and isn't empty |
| Null or schema check | Confirms the data shape is acceptable |
| Rule-based validation | Confirms the value meets business rules |
If the field is empty, format validation, range validation, and business logic aren't useful yet. You can't check whether a transaction amount is within policy if there is no transaction amount. You can't verify consent logic if the consent flag was never submitted.
Teams that get this right build less rework into the system. Teams that skip it end up writing cleanup jobs, support playbooks, and exception handling for records that shouldn't have been accepted in the first place.
Implementing Validation on the Front-End
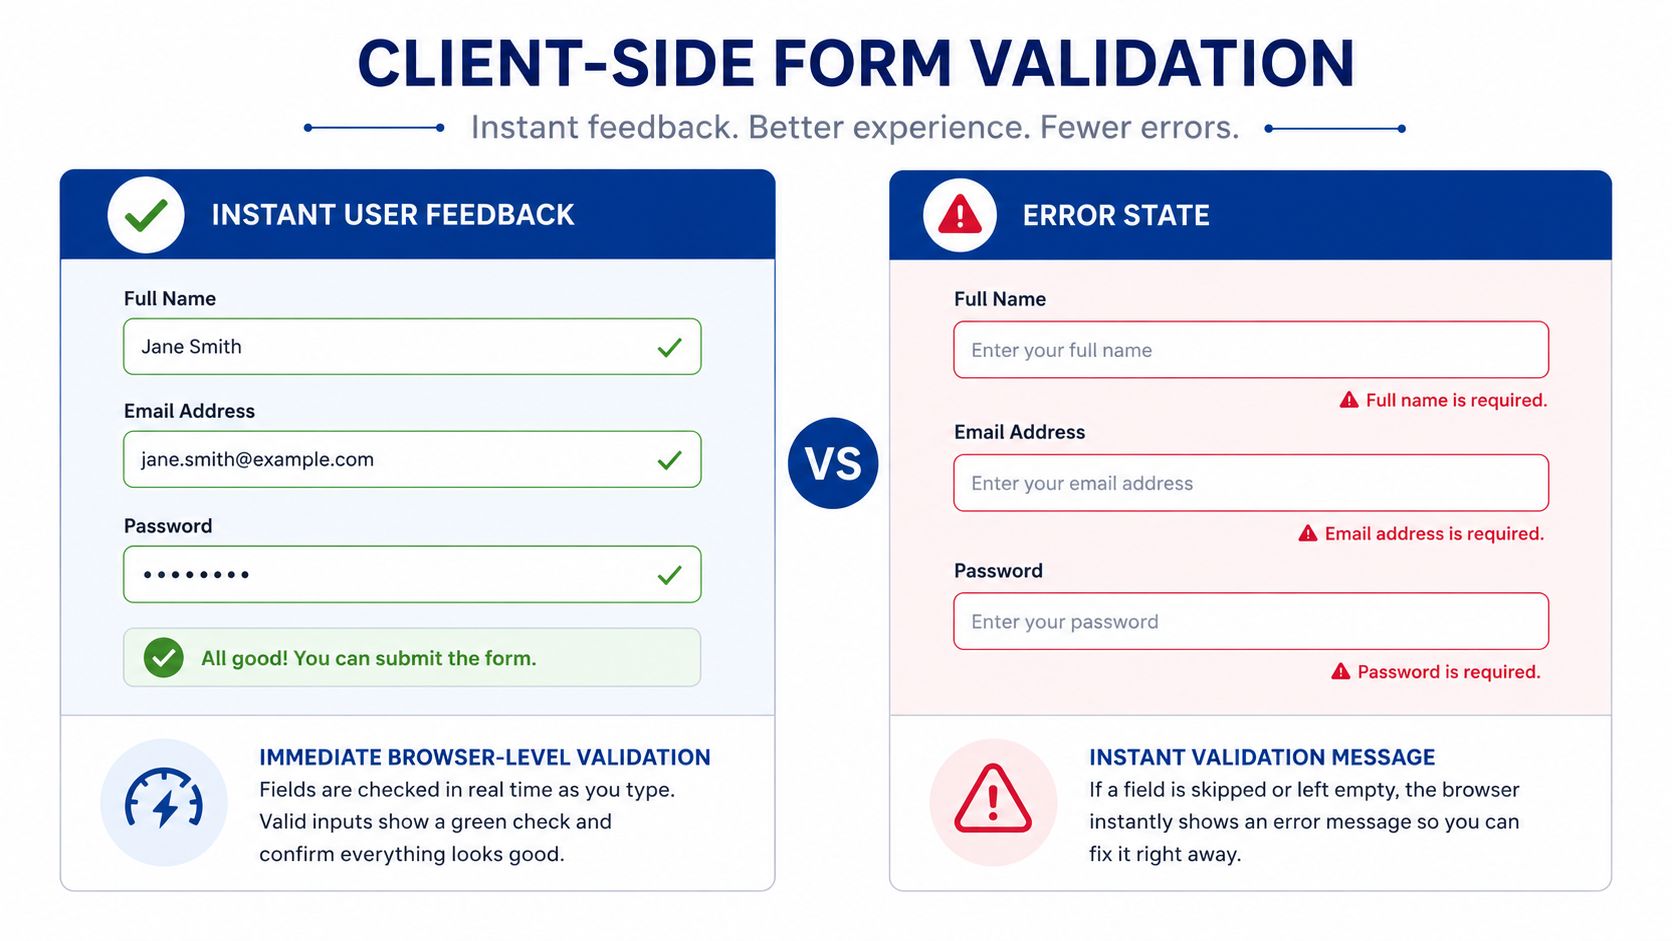
Front-end validation exists for one reason. It helps users fix mistakes before they send bad input. That makes forms faster to complete and less frustrating to use.
The simplest version is still worth using.
Start with native HTML
Native HTML gives you a surprising amount for free. If a field is mandatory, add the required attribute.
<form id="contract-form">
  <label for="fullName">Full name</label>
  <input id="fullName" name="fullName" type="text" required>

  <label for="email">Email</label>
  <input id="email" name="email" type="email" required>

  <label for="amount">Contract amount</label>
  <input id="amount" name="amount" type="number" required>

  <button type="submit">Send</button>
</form>
Browser-based validation establishes the baseline. The browser blocks submission and prompts the user when a required field is empty. For small internal tools, prototypes, or straightforward forms, this may be enough.
What native validation does well:
Fast setup: You add one attribute and get immediate blocking behavior.
Consistent baseline behavior: Browsers already know how to stop empty required fields.
Low maintenance: There's less custom code to drift out of sync.
What it doesn't do well:
Limited message control: Browser error text isn't always aligned with your product voice.
Conditional logic gets awkward: “Field B is required only if field A equals X” usually needs code.
Styling can be inconsistent: Native UI varies across browsers.
A lot of teams stop here and think they're done. They aren't. Native HTML is a good start, not a complete strategy.
After the basics, it helps to see the interaction pattern in motion:
Add JavaScript when rules get real
As soon as your form has dependencies between fields, custom messaging, or dynamic sections, JavaScript becomes the better tool.
<form id="nda-form" novalidate>
  <label for="company">Company name</label>
  <input id="company" name="company">

  <label>
    <input id="hasWitness" name="hasWitness" type="checkbox">
    This document requires a witness
  </label>

  <label for="witnessName">Witness name</label>
  <input id="witnessName" name="witnessName">

  <p id="formError" aria-live="polite"></p>

  <button type="submit">Continue</button>
</form>

<script>
  const form = document.getElementById('nda-form');
  const company = document.getElementById('company');
  const hasWitness = document.getElementById('hasWitness');
  const witnessName = document.getElementById('witnessName');
  const formError = document.getElementById('formError');

  form.addEventListener('submit', (e) => {
    const errors = [];

    if (!company.value.trim()) {
      errors.push('Company name is required.');
    }

    if (hasWitness.checked && !witnessName.value.trim()) {
      errors.push('Witness name is required when a witness is needed.');
    }

    if (errors.length) {
      e.preventDefault();
      formError.textContent = errors[0];
    } else {
      formError.textContent = '';
    }
  });
</script>
This gives you control over timing, logic, and presentation. It also lets you normalize whitespace issues. A field containing only spaces should not count as complete. That's a common bug in rushed implementations.
Don't validate only on submit. For many fields, validating on blur works better because it avoids shouting at users while they're still typing.
A practical pattern is to split validation into three moments:
On blur for single-field required checks.
On change for dependent fields like toggles, checkboxes, and dropdowns.
On submit as the final client-side pass before the request leaves the browser.
Keep framework logic in one place
If you're using React, Vue, Angular, or Svelte, the biggest risk isn't writing validation. It's letting UI rules and validation rules drift apart.
I've seen forms where the label shows a required asterisk, but the schema treats the field as optional. I've also seen the reverse, where the server rejects a field the UI never marked as mandatory. Both are avoidable if you define requiredness in one place and reuse it.
A clean front-end implementation usually does these things:
Stores field rules centrally: Use a schema, config object, or form model instead of spreading requirements across components.
Maps UI indicators from that source: If a field is required in logic, the label should reflect it.
Handles conditional rules explicitly: Don't bury them inside random event handlers.
Keeps error state structured: A field-level error object is easier to test than ad hoc strings.
The front end should feel helpful. It should never feel like a trap. If a user misses something, the form should point to the exact field, explain what's missing, and let them recover quickly.
Why Server-Side Validation Is Non-Negotiable
If the browser is your only validation layer, your system doesn't enforce required fields. It merely requests them.
That distinction matters. Users can disable JavaScript. Attackers can craft requests directly. Browser dev tools let anyone alter a payload before submission. If your server trusts the client's “validated” data, you've moved your gatekeeper outside your trust boundary.

The browser is not your trust boundary
Client-side validation improves UX. Server-side validation protects the application.
That means every field marked required in the UI should be checked again after the request reaches the backend. If the server receives an empty contract amount, missing signer name, or absent acknowledgment flag, it should reject the request before saving anything.
Here's a simple Node.js style example:
app.post('/api/contracts', (req, res) => {
  const { signerName, contractAmount, effectiveDate } = req.body;
  const errors = {};

  if (!signerName || !signerName.trim()) {
    errors.signerName = 'Signer name is required.';
  }

  if (contractAmount === undefined || contractAmount === null || contractAmount === '') {
    errors.contractAmount = 'Contract amount is required.';
  }

  if (!effectiveDate || !effectiveDate.trim()) {
    errors.effectiveDate = 'Effective date is required.';
  }

  if (Object.keys(errors).length > 0) {
    return res.status(400).json({ errors });
  }

  // Save only after validation passes
  res.status(201).json({ ok: true });
});
And the same idea in Python:
def validate_contract(payload):
    errors = {}

    if not str(payload.get("signerName", "")).strip():
        errors["signerName"] = "Signer name is required."

    if payload.get("contractAmount") in [None, ""]:
        errors["contractAmount"] = "Contract amount is required."

    if not str(payload.get("effectiveDate", "")).strip():
        errors["effectiveDate"] = "Effective date is required."

    return errors
What server enforcement should do
Server-side required field validation shouldn't just mirror the browser blindly. It should enforce the business truth.
That includes checks like these:
Reject empty and null values: An empty string and a missing property often need the same treatment.
Apply conditional requirements: If a document type requires a witness, the witness fields must be present.
Return structured errors: Send field-specific errors back so the client can display them properly.
Back validation with storage rules: Database constraints and schema enforcement should support the same contract.
The safest form architecture is layered. The browser helps the user. The server makes the decision.
A good backend also logs validation failures with enough detail to debug patterns. Not the raw sensitive payload if that would create risk, but enough context to answer useful questions. Which route failed? Which field failed? Did the UI and API disagree on what was required?
When forms drive contracts, signatures, identity details, or approvals, this layer is not optional.
Creating an Accessible and User-Friendly Validation UX
A valid form can still be a bad form. If users can't understand what failed, where it failed, or how to fix it, your validation logic is technically correct and practically broken.
That usually happens because teams focus on blocking submission, not on helping completion.
Write errors people can fix
Bad validation messages are vague. “Invalid input” tells the user nothing. “This field is required” is better, but still weak when the page has many fields.
Better messages point to the exact action:
Use field names: “Company name is required.”
State the condition when relevant: “Witness name is required when witness signing is enabled.”
Avoid blame: The system should guide, not scold.
Place errors near fields and summarize when needed: Long forms benefit from both.
A useful pattern is inline field errors plus a short summary at the top after submit. Inline helps with precision. The summary helps users on long or mobile forms.
Make required states available to assistive tech
Accessibility can't be bolted on after the visual design is done. Guidance summarized by Nielsen Norman Group's required-fields article emphasizes semantic support such as aria-required, aria-invalid, aria-describedby, and live-region announcements so screen readers can interpret required states and errors correctly.
Here's a simple pattern:
<label for="email">Email <span aria-hidden="true">*</span></label>
<input
  id="email"
  name="email"
  type="email"
  required
  aria-required="true"
  aria-invalid="true"
  aria-describedby="email-error">

<p id="email-error" role="alert">Email is required.</p>
This does a few important things:
| Element | Why it matters |
|---|---|
required |
Supports native browser behavior |
aria-required="true" |
Exposes required state to assistive tech |
aria-invalid="true" |
Announces the field is currently in error |
aria-describedby |
Links the input to the error message |
| Live or alert region | Announces changes when errors appear |
Many teams still treat validation as a visual-only problem. That's where usability breaks down for screen reader users and for anyone completing forms under time pressure on mobile. If your workflow includes document signing or approval, that friction matters. This article on sending documents for eSignature is a good reminder that the signer's path should stay simple all the way through.
A required field isn't truly implemented until both sighted users and assistive-tech users can find it, understand it, and fix it.
Choose how to mark fields based on form size
There's an old debate about whether to mark required fields or optional fields. The honest answer is that both patterns can work, depending on the form.
Jakob Nielsen discusses Baymard research showing that 32% of users failed to complete a required field when only optional fields were marked in that context, as covered in his discussion of required-field patterns. That's a useful reminder that “mark optional only” is not a universal best practice.
A practical decision guide looks like this:
Short, constrained forms: Marking only optional fields can reduce clutter if almost everything is mandatory.
Longer or mixed-complexity forms: Mark required and optional states clearly so users don't have to guess.
Conditional sections: Be explicit. Hidden rules create the most confusion.
Don't choose the pattern because it looks cleaner in a design file. Choose it based on whether a real user can complete the form without hesitation.
How to Test, Debug, and Measure Your Validation
Validation code fails in ordinary ways. A field is required in the UI but not in the API. A checkbox flips a conditional rule, but the dependent field never updates. A refactor changes the payload shape, and the old validator stops catching empty values.
That's why required field validation needs testing from both directions. You test that valid submissions pass, and you test that broken submissions fail for the right reason.
Test the obvious and the annoying cases
Start with manual testing before you automate anything. Try to break the form like a distracted user would.
Use a checklist like this:
Submit everything blank: Confirm the right required fields fail.
Enter whitespace only: Make sure
" "doesn't pass as valid text.Trigger conditional paths: If one answer makes another field required, test both states.
Skip hidden fields through direct requests: Confirm the backend still rejects missing data.
Retry after correction: Errors should clear once the field is fixed.
Then automate the rules that matter most. Front-end tests should verify visible errors and field state. Backend tests should verify that the API rejects incomplete payloads and returns structured error objects.
Use logs and metrics to find weak spots
Testing catches defects before release. Measurement tells you where users still struggle after release.
According to KPI Depot's benchmark summary for data validation success rate, strong process controls usually target more than 95% success rates, 90% to 95% is acceptable, and below 80% is critical. The same source notes that if missing-field defects remain above about 5% of submitted records, it usually points to problems in form design, UX, or backend enforcement.
That gives you a practical KPI. Track the percentage of submissions that pass required-field checks on the first attempt.
A lean measurement setup should capture:
Field name: Which field fails most often
Channel: Web app, mobile browser, embedded form, API
Document or form type: NDA, onboarding form, contract, policy acknowledgment
Failure stage: Client-side only, server-side only, or both
If one required field keeps failing, don't just tighten the validator. Check the label, placement, timing, and whether the UI made the requirement obvious.
The best validation systems aren't the strictest. They're the clearest.
Best Practices for Required Fields in SignWith E-Signatures
Required fields carry more weight in signed documents than in ordinary forms. In a contact form, a missed field is annoying. In a signed agreement, a missed field can force a resend, delay approval, or leave an important part of the record incomplete.
That's why required field choices in e-signature workflows should be deliberate.
Required fields matter more in signed workflows
In a signing flow, required fields often include more than the signature itself. You may need a printed name, company name, date, initials, title, or an acknowledgment checkbox depending on the document.

A few common examples:
NDA workflows: Make company name and signer title required if the agreement depends on who is signing for the business.
HR packets: Require date fields and acknowledgment fields so the record is complete when stored.
Affidavits or witness-based documents: Require every signer-specific field assigned to the appropriate participant.
The key is consistency. If a field is necessary for the document to be complete, mark it required where the document is prepared, enforce it in the signing flow, and make sure the final record reflects that requirement clearly.
How to set up required fields cleanly
When configuring required fields for e-signatures, keep the signer's experience narrow and obvious. Don't overload the document with fields that don't need input. Don't make a signer guess which blanks are decorative and which ones block completion.
A good setup usually follows these rules:
Only require what the document needs. Every extra mandatory field adds friction.
Match fields to signer roles carefully. A required field assigned to the wrong person creates dead ends.
Review the final signing path on mobile. Dense document layouts often hide missing required fields.
Test before sending live documents. One dry run catches a lot of preventable mistakes.
For teams that need a lightweight way to try this workflow, the free eSignature tool from SignWith is a practical starting point.
SignWith supports e-signature workflows aligned with USA standards under the ESIGN Act and UETA, which is the compliance context that matters here. In that setting, required field validation isn't just a form feature. It helps make sure each document captures the information the parties intended to provide before completion.
If you need a simple way to send documents, place required fields, and keep e-signature workflows easy for both senders and signers, SignWith is worth a look. It's built for fast document sending without subscription bloat, and it gives you a clean path to collect complete, enforceable signatures with less back-and-forth.
